Tuesday, 2 June 2015

Khatti Meethi Imli ki Goli / Sweet & Tangy Tamarind Candy !

Do you remember buying those sweet & tangy imli ki goli from small vendors near the school..called 'Baddi Kottu' …. I do…& I am sure many of us do remember that…

Khatti Meethi Imli ki goli are the indian version of sweet & tangy candy :-) aren't they? Also, these are the digestive home made candies (the finest versions are nothing but Dabur Hajmola)…try them..& let me know !!!


Imli Ki Goli
Ingredients :

Tamarind - about 100 gms
Red Chilli powder - 1 table spoon (depends on preference can reduce / increase the quantity)
Jaggery powder - 3 table spoons
Jeera / Cumin powder - 1 table spoon
Salt - As per the taste ( takes about 1/2 to 1 table spoon )
Hing / Asafoetida powder - 1 tea spoon

Preparation :

- Remove the seeds from the tamarind and if possible buy the seedless tamarind & it is softer as well.
- Though it is said seed less, I could find 1 to 2 seeds from the tamarind.


Imli ki goli
- Dry roast the jeera & grind it into fine powder, also if you have granuled hing / asafoetida grind it and make a fine powder.

Khatti Meethi Imli ki goli
- Mix all the dry ingredients together including salt.

Tamarind candy

- Slowly keep adding the dry ingredients mix to the tamarind. 

Imli ki goli
- Knead the tamarind well so that all the ingredients are well absorbed into the tamarind.

Tangy tamarind candy
- Take small portions of well kneaded sweet & tangy tamarind and make small chickpea sized candies / goli.

The mouth watering 'sweet & tangy' Tamarind Candy / 'Khatti Meethi Imli ki goli' are ready..which are very good for digestion.

Imli ki goli


Carrot Milk !

Simple & Healthy carrot milk recipe for you all…which can be served as a desert after a meal :-)

Carrot Milk 

Ingredients :

Carrots -  2 medium sized
Sugar - 1 to 2 table spoons (OPTIONAL)
Cardamom /Elaichi powder - 1/4 tea spoon
Milk - 3 cups

Preparation:

- Peel off & wash the carrots thoroughly and cut in to pieces so it would be easy to boil & grind.

Carrot milk
- Add 1/2 cup of water (or even less than that) to the carrots and boil / steam them under low to medium heat.

Carrot Milk
- Use a fork and see if you can easily mash the carrots, means they are steamed enough to grind.

- Grind the steamed carrots to a finer or little chunkier paste is also fine.

Carrot milk
- Boil the milk adding sugar ( Sugar is optional, if you think carrots are sweeter..avoid adding additional sugar).

- Once the milk comes to boil, add the ground carrot to the milk and stir well.

Carrot Milk
- Slow down the heat and boil the carrot milk for 5 to 7 minutes more under low heat.

Carrot Milk
- Once, done turn off the heat & add the cardamom powder to the carrot milk and let it come to room temparature.

If want to serve cold carrot milk, keep the Carrot Milk in the refrigerator and serve chilled carrot milk.

Carrot Milk


Tuesday, 26 May 2015

Colocasia Root / Chama dumpa Pulusu.. Curry!

Colocasia root / Taro root / Arbi / Kesavuna Gedde / Chama Dumpa … this root vegetable is one of my favorites ..especially when the sweet / sour & spicy curry made in Andhra style … mmmm… Taro root is beneficial medicinally in many ways..and most of the times it is very under rated yet healthy root vegetable ! Not only the curry style you can cook as dry roast, mashed, fried like chips many more varieties..try as many as you can…Let's dive in to this recipe, for now…. :-)

Chamadumpa pulusu

Ingredients :

Colocasia root - 5 to 6 (depends on the size)
Tamarind juice - 2 table spoons
Turmeric powder - 1 tea spoon
Red chili powder - 2 table spoons
Sugar / Jaggery powder - 1 to 2 table spoons
Cumin seeds / Jeera - 2 tea spoons
Chopped onion - 1/2 cup
Chopped tomato - 1 cup
Curry Leaves - 4 to 5
Oil - 2 table spoons
Roasted peanuts - 1 table spoon
Methi / fenugreek seeds powder - 1/2 table spoon
Salt - As per the taste
Water - 1 to 2 cups (depends on the thickness of the gravy required)

Preparation :

- Dry roast the peanuts, 1 tea spoon of jeera & grind with the red chili powder and keep it aside.

Peanuts / Jeera / Red chilli powder - Mix
- Wash the colocasia thoroughly in the running water and make sure no mud or soil on the skin.

Colocasia root
- Boil the colocasia roots in water until they became softer ( use the fork to see if they are cooked enough ).

- Once the colocasia root is cooked, turn off the heat and let them cool down and transfer them into cold water and peel off the skin cut them in to round pieces and keep them aside.

Taro root
- Heat the oil in the pan and fry curry leaves, remaining jeera & chopped onion until onion turns slightly brownish.

Chamadumpa pulusu
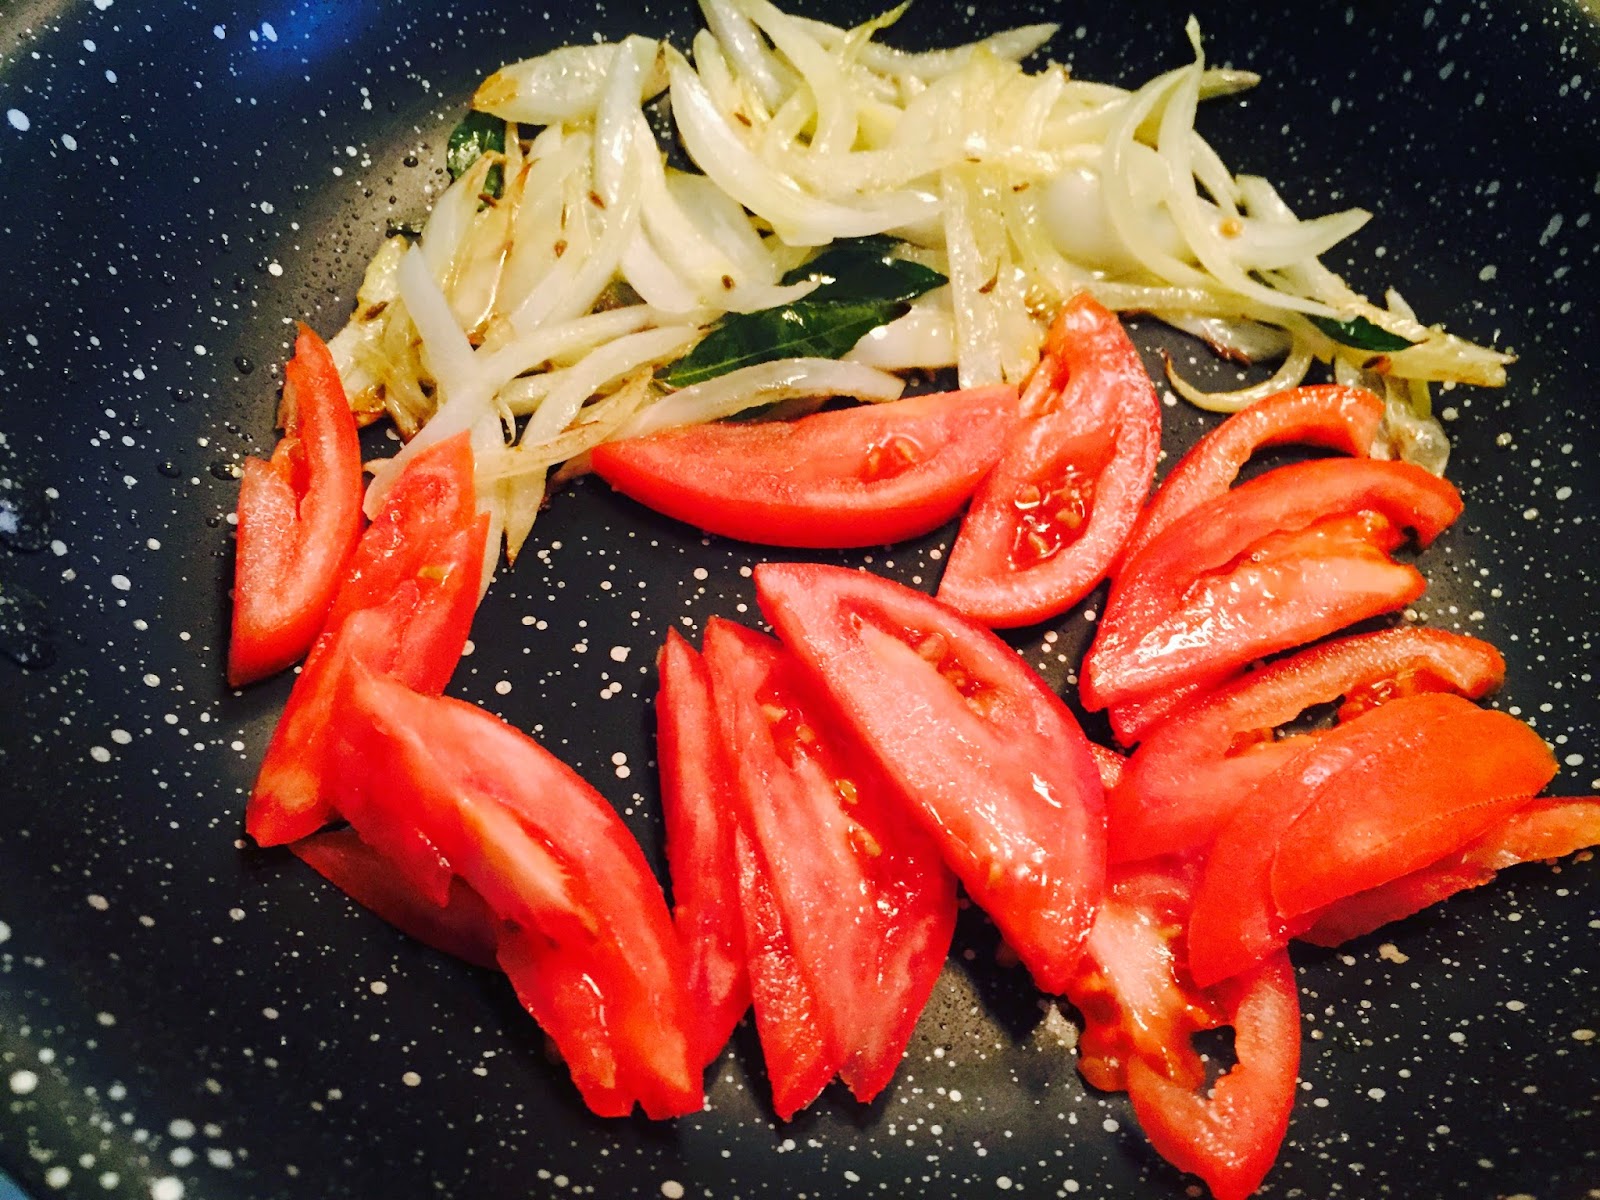
- Add the choppe tomatoes and let them cook for some time.

Chamadumpa pulusu
- Once the seasoning is cooked enough, add the methi powder & turmeric powder and fry for 2 to 3 minutes.

Chamadumpa pulusu
- Add some water, so that gravy will not be dry, let the gravy cook for few minutes.

chamadumpa pulusu
- Add the ground peanut & chili powder mix to the gravy and mix well.

Chamadumpa pulusu
- Add the tamarind juice and remaining water to the curry and let the gravy be cooked under medium heat until slightly comes to boil.

Chamadumpa pulusu

- Once the gravy comes to boil slowly add the colocasia root or chamadumpa pieces to the gravy,

Chamadumpa pulusu
- Add some water, so that gravy won't be dried up and add the sugar / jaggery powder & salt to the gravy and cook under low to medium heat.

Chamadumpa pulusu
- Let it cook for some time without drying up the gravy, since the colocasia root is boiled it doesn't take much time to cook in the curry after adding the colocasia pieces to the gravy.

Once, done turn off the heat and let the curry come to the room temperature & Chamadmpa Pulusu curry is ready !!!

This is one of the important tips that I learnt from my mom any gravy / pulusu with tamarind & sugar / jaggery tastes better once they come to the room temperature rather having them hot !


Wednesday, 20 May 2015

Tomato Pickle !

Though, this is not a Tomato Pickle ( Tomato thokku Pachadi ) which is an andhra style recipe that we preserve it for year long, but a substitute and you can preserve this pickle in refrigerator for 7 to 10 days..and have it whenever you feel like to feel the taste of andhra tomato pickle :-)


Tomato Pickle 

Ingredients :

Tomatoes - 5 to 6 medium sized
Tamarind (seedless) - a small lemon sized
Turmeric powder - 1 tea spoon
Red chili powder - 2 table spoons
Methi seeds / Fenugreek seeds powder - 1/2 table spoon
Salt - As per the taste

For Seasoning:

Oil - 1 to 2 table spoons
Dry Red chilli - 1 or 2 
Jeera / Urad dal / Split moong dal / Mustard seeds / split chickpea dal - 2 table spoons
Curry Leaves - 4 to 5
Asafetida / Hing - 1/2 tea spoon

Preparation :

- Wash the tomatoes and cut each tomato into 2 halves, remove the seeds.

Tomato pickle
Note : The seeds or the middle hard portion in the tomato is not too good for the digestion.

Tomato pickle
- Grind the Tomatoes & get a slightly chunky tomato pulp ( DON'T ADD ANY WATER) & don't require to make a fine paste.

Tomato pickle
- Take this tomato pulp into a pan and add turmeric powder, salt, red chili powder, tamarind and give a nice stir & cook this under low heat.

Tomato Pickle
- After some time, you start noticing tomato pulp started cooking and leaving water slowly.

Tomato Pickle
- Let it cook slowly under low heat, after some time you can see the tomato pulp cooked well and evaporating all the moisture.

Tomato Pachadi

- As seen in the above pic this consistency is good, don't make it too dry. turn off the heat & keep it aside and prepare the seasoning for the tomato pickle.

- For seasoning, heat the oil in the pan and start adding all the seasoning ingredients one by one except the hing and fry them under low heat.

- Add the methi seeds powder / fenugreek seeds powder to the seasoning and fry all the seasoning,

Tomato Pickle
- After few seconds, add the asafetida / hing to the seasoning, you can feel the nice aroma...

Tomato pickle

- Once the seasoning is fried enough, add the cooked tomato pickle to the seasoning pan and mix well with the seasoning.

Tomato pachadi
- Let the pickle be cooked with the seasoning for few seconds and turn of the heat.

Andhra Tomato Pachadi

Preferably, leave the tomato pickle to be cool down to the room temperature and best to leave it to set for 1 day, so that it would bring a nice taste and flavor once it settles down well for few hours, rather eating immediately.

After few hours or preferably next day… The Tomato pickle / Tomato pachadi is all yours to enjoy !


Raw Banana stir fry !

Easy & Tasty Raw Banana / Raw Plantain stir fry …

Aratikaya Vepudu 

Ingredients :

Raw Banana / Raw Plantains - 2 to 3
Red Chilli powder - 1 table spoon
Dry coconut shred - 1 table spoon
Turmeric powder - 1 tea spoon
Ginger & Garlic paste - 1/2 table spoon ( OPTIONAL )
Salt - As per the taste

For Seasoning:

Oil - 1 to 2 table spoons
Dry Red chilli - 1 or 2 
Jeera / Urad dal / Split moong dal / Mustard seeds / split chickpea dal - 2 table spoons
Curry Leaves - 4 to 5
Garlic cloves - 1 to 2 (chopped / crushed )
Asafetida / Hing - 1/2 tea spoon

Preparation :

- Peel off the banana & dice into small sized pieces or can slice round pieces.


Raw banana stir fry

NOTE : While cutting the raw banana you feel sticky on the knife or on your fingers, just to avoid this apply little oil to the knife before slicing the banana.

- Take the banana pieces in to a sauce pan add pinch of salt & sprinkle some water and cover the pan with a lid & let them steam cook for some time under low heat. Don't keep it on high heat.

Banana fry
- It might take 5 to 10 minutes but not more than that to steam cook the banana, to test just use a fork and see if the banana pieces are steamed well enough, don't need to mash them. Once done, turn off the heat.

Aratikaya vepudu
- For seasoning, heat the oil in a pan and start adding all the seasoning ingredients one by one and fry them.

Raw plantains stir fry
- Once the seasoning is spluttering add the ginger & garlic paste which is totally OPTIONAL and fry for few seconds.

- Add the steam cooked raw banana pieces to the seasoning and give a quick stir adding the turmeric powder.

Raw Banana stir fry
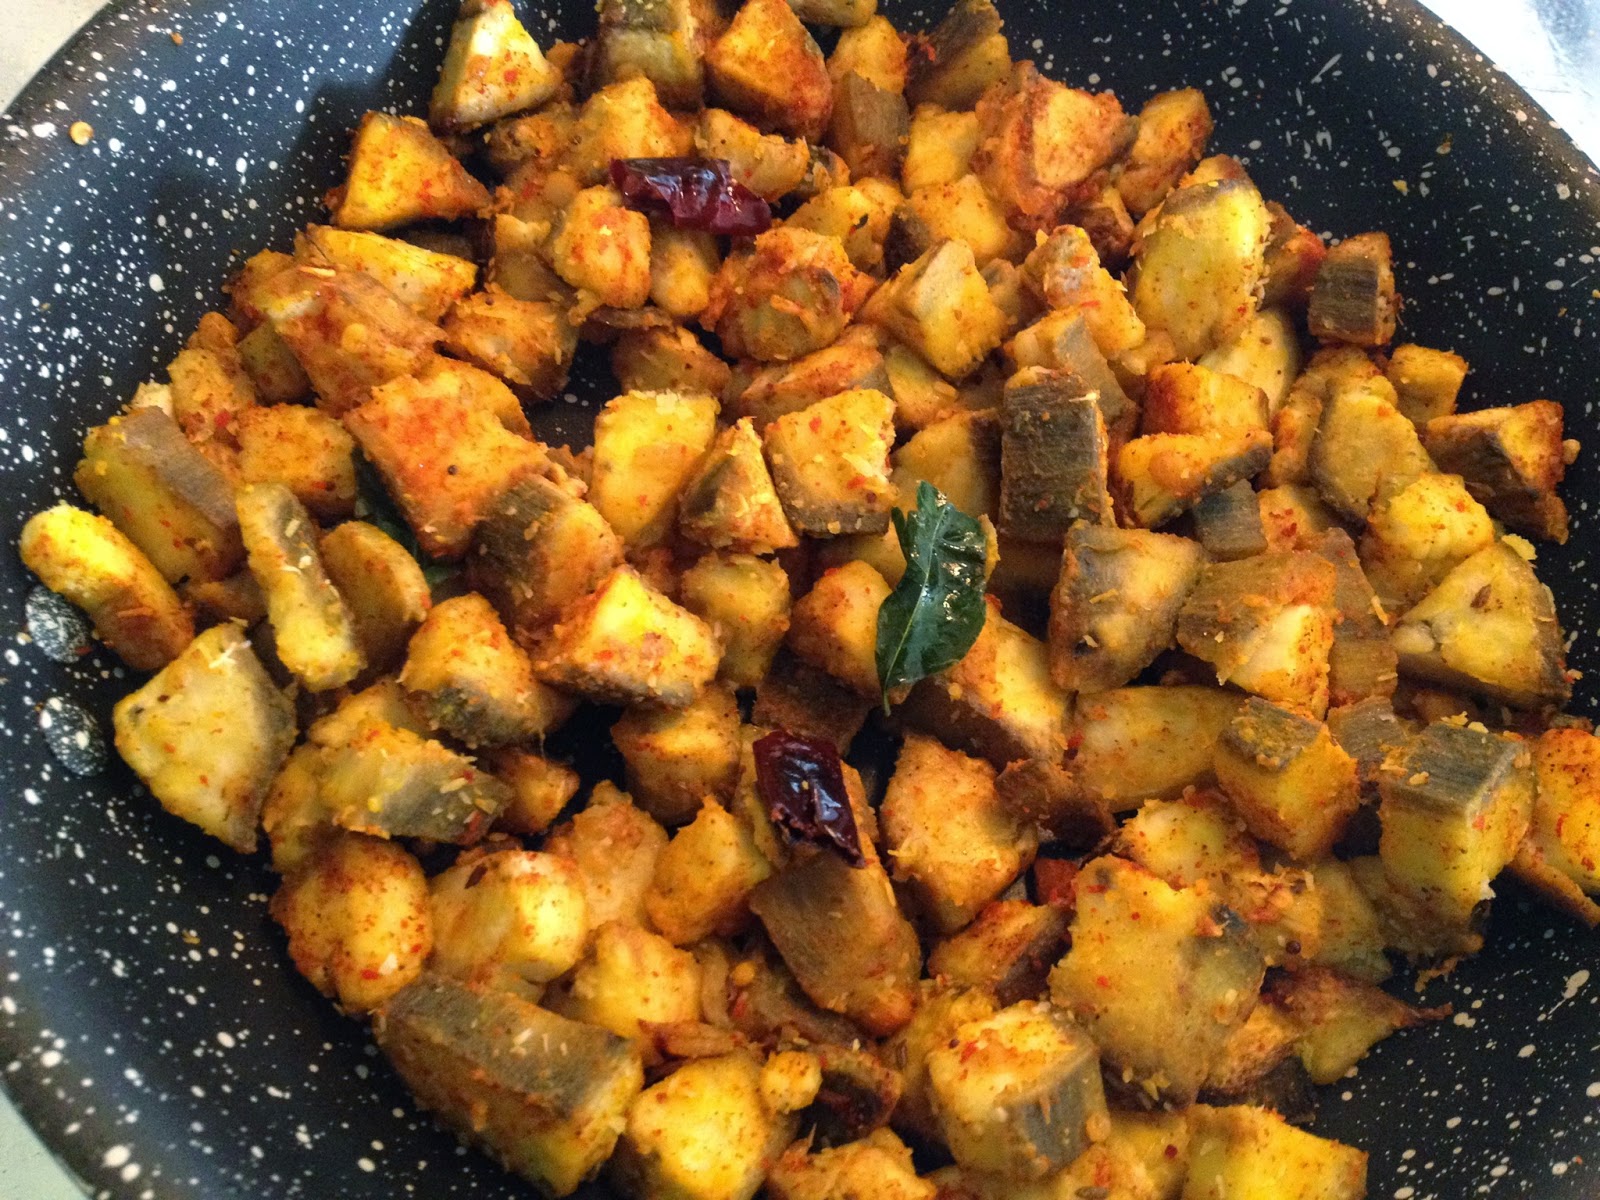
- Add the chili powder & dry coconut shred and stir well, also adjust the salt. If the stir fry feels little dry can sprinkle some water.

Arati kaya fry
- Let it cook for few minutes and Raw Banana stir fry or Aratikaya vepudu is ready, now !

Aratikaya vepudu

It tastes good with Rice & Rasam or with chapati too …enjoy the Raw Plantains stir fry !!


Tuesday, 12 May 2015

Mango Dal / Mamidikaya Pappu

Some times, we fall short of words… that moment you need an aid of a THING .. it may be a sign, a sigh, a gesture, a movement,..just like this pic… most of my recipes, my cooking everything & everywhere I see my mom.. <3

Lets quickly get into the recipe …. :-)

Mango Dal


Ingredients :

Raw Mango - 1/2 of the mango only
Toor dal / Masoor dal - 1 cup
Water - 3 to 4 cups
Green Chilli - 2
Turmeric powder - 1 tea spoon
Red chilli powder - 1 tea spoon (OPTIONAL)
Salt - As per the taste

For Seasoning:

Oil - 1 to 2 table spoons
Dry Red chilli - 1 or 2 
Jeera / Urad dal / Split moong dal / Mustard seeds / split chickpea dal - 2 table spoons
Curry Leaves - 4 to 5
Asafetida / Hing - 1/2 tea spoon

Preparation :

- Wash & peel off the raw mango and cut into medium to small pieces ( I used only half of the mango ).

Mamidikaya Pappu

- Wash the dal & add the water.
- Pressure cook the dal with raw mango pieces, green chilli, turmeric powder, chili powder & salt.

Mango Dal

- Once the dal is cooked turn off the heat & let all the pressure go.
- Meanwhile, heat the oil in a pan & fry all the seasoning ingredients, I added extra green chili in the seasoning since, I didn't add the red chili powder to the dal.

Mango Dal
- Add the seasoning to the mango dal and let the dal cook for 5 minutes under a low heat.

Mango dal

- Just to enhance the taste, use ghee instead of oil for the seasoning but this is totally optional.


Mmidi Kaya Pappu